Pin It

Showing posts with label Party Favors. Show all posts

Friday, July 11, 2025

Extraordinary Flora, Party Favors, Weekend Project, Stampin' Up!

Hello and welcome to my blog. Today I have a fun weekend project to share with you. It's great for birthday parties, weddings, anniversaries or whatever party you have in mind. It's simple to do. Please read on to see how to make these.

I took Pearson's Peppermint Patties for the candy. You can use other covered round candies too. I just like the mints because the are great for after eating at a party.

Using the smallest circle die in the "Stylish Shapes" set I cut 3 using Basic White card stock. I stuck them to the backs of the patties using tear and tape. You want something pretty sticky for this. Do NOT use hot glue or even school glue. It's best to stick with the double sided tape. Glue dots would work too.

Next I took a panel of my "Extraordinary Flora" washi tape and placed it on Basic White card stock. Then I cut them out using the matching die. Using mono glue I glued two of the flowers down. On the melon colored one I added a tiny flower using a Dimensional.

On the purple one, I glued one flower over the flower that was already on the image and I used Dimensionals on the other two flowers.

And for the third one I just added a few small Dimensionals to the back of it and set it in place on the circle.  And that was it.

If you need to make a lot of these, a roll of the washi tape should do it, there's 66 sets per roll.  33 of the melon and 33 of the purple.  These make great party favors! I thought they went together rather quickly. It would be a lot quicker if you had a circle punch instead of a die. As long as it covers the back of the mint without going over the edges it will work. A 1-3/8" is about as big as you'd want to go.

Thank you SO very much for taking your time to stop in and see today's party favors,
Wanda


Saturday, January 30, 2021

Sweet Ice Cream, Darling Donkeys, Birthday Candy Box, Weekend Project

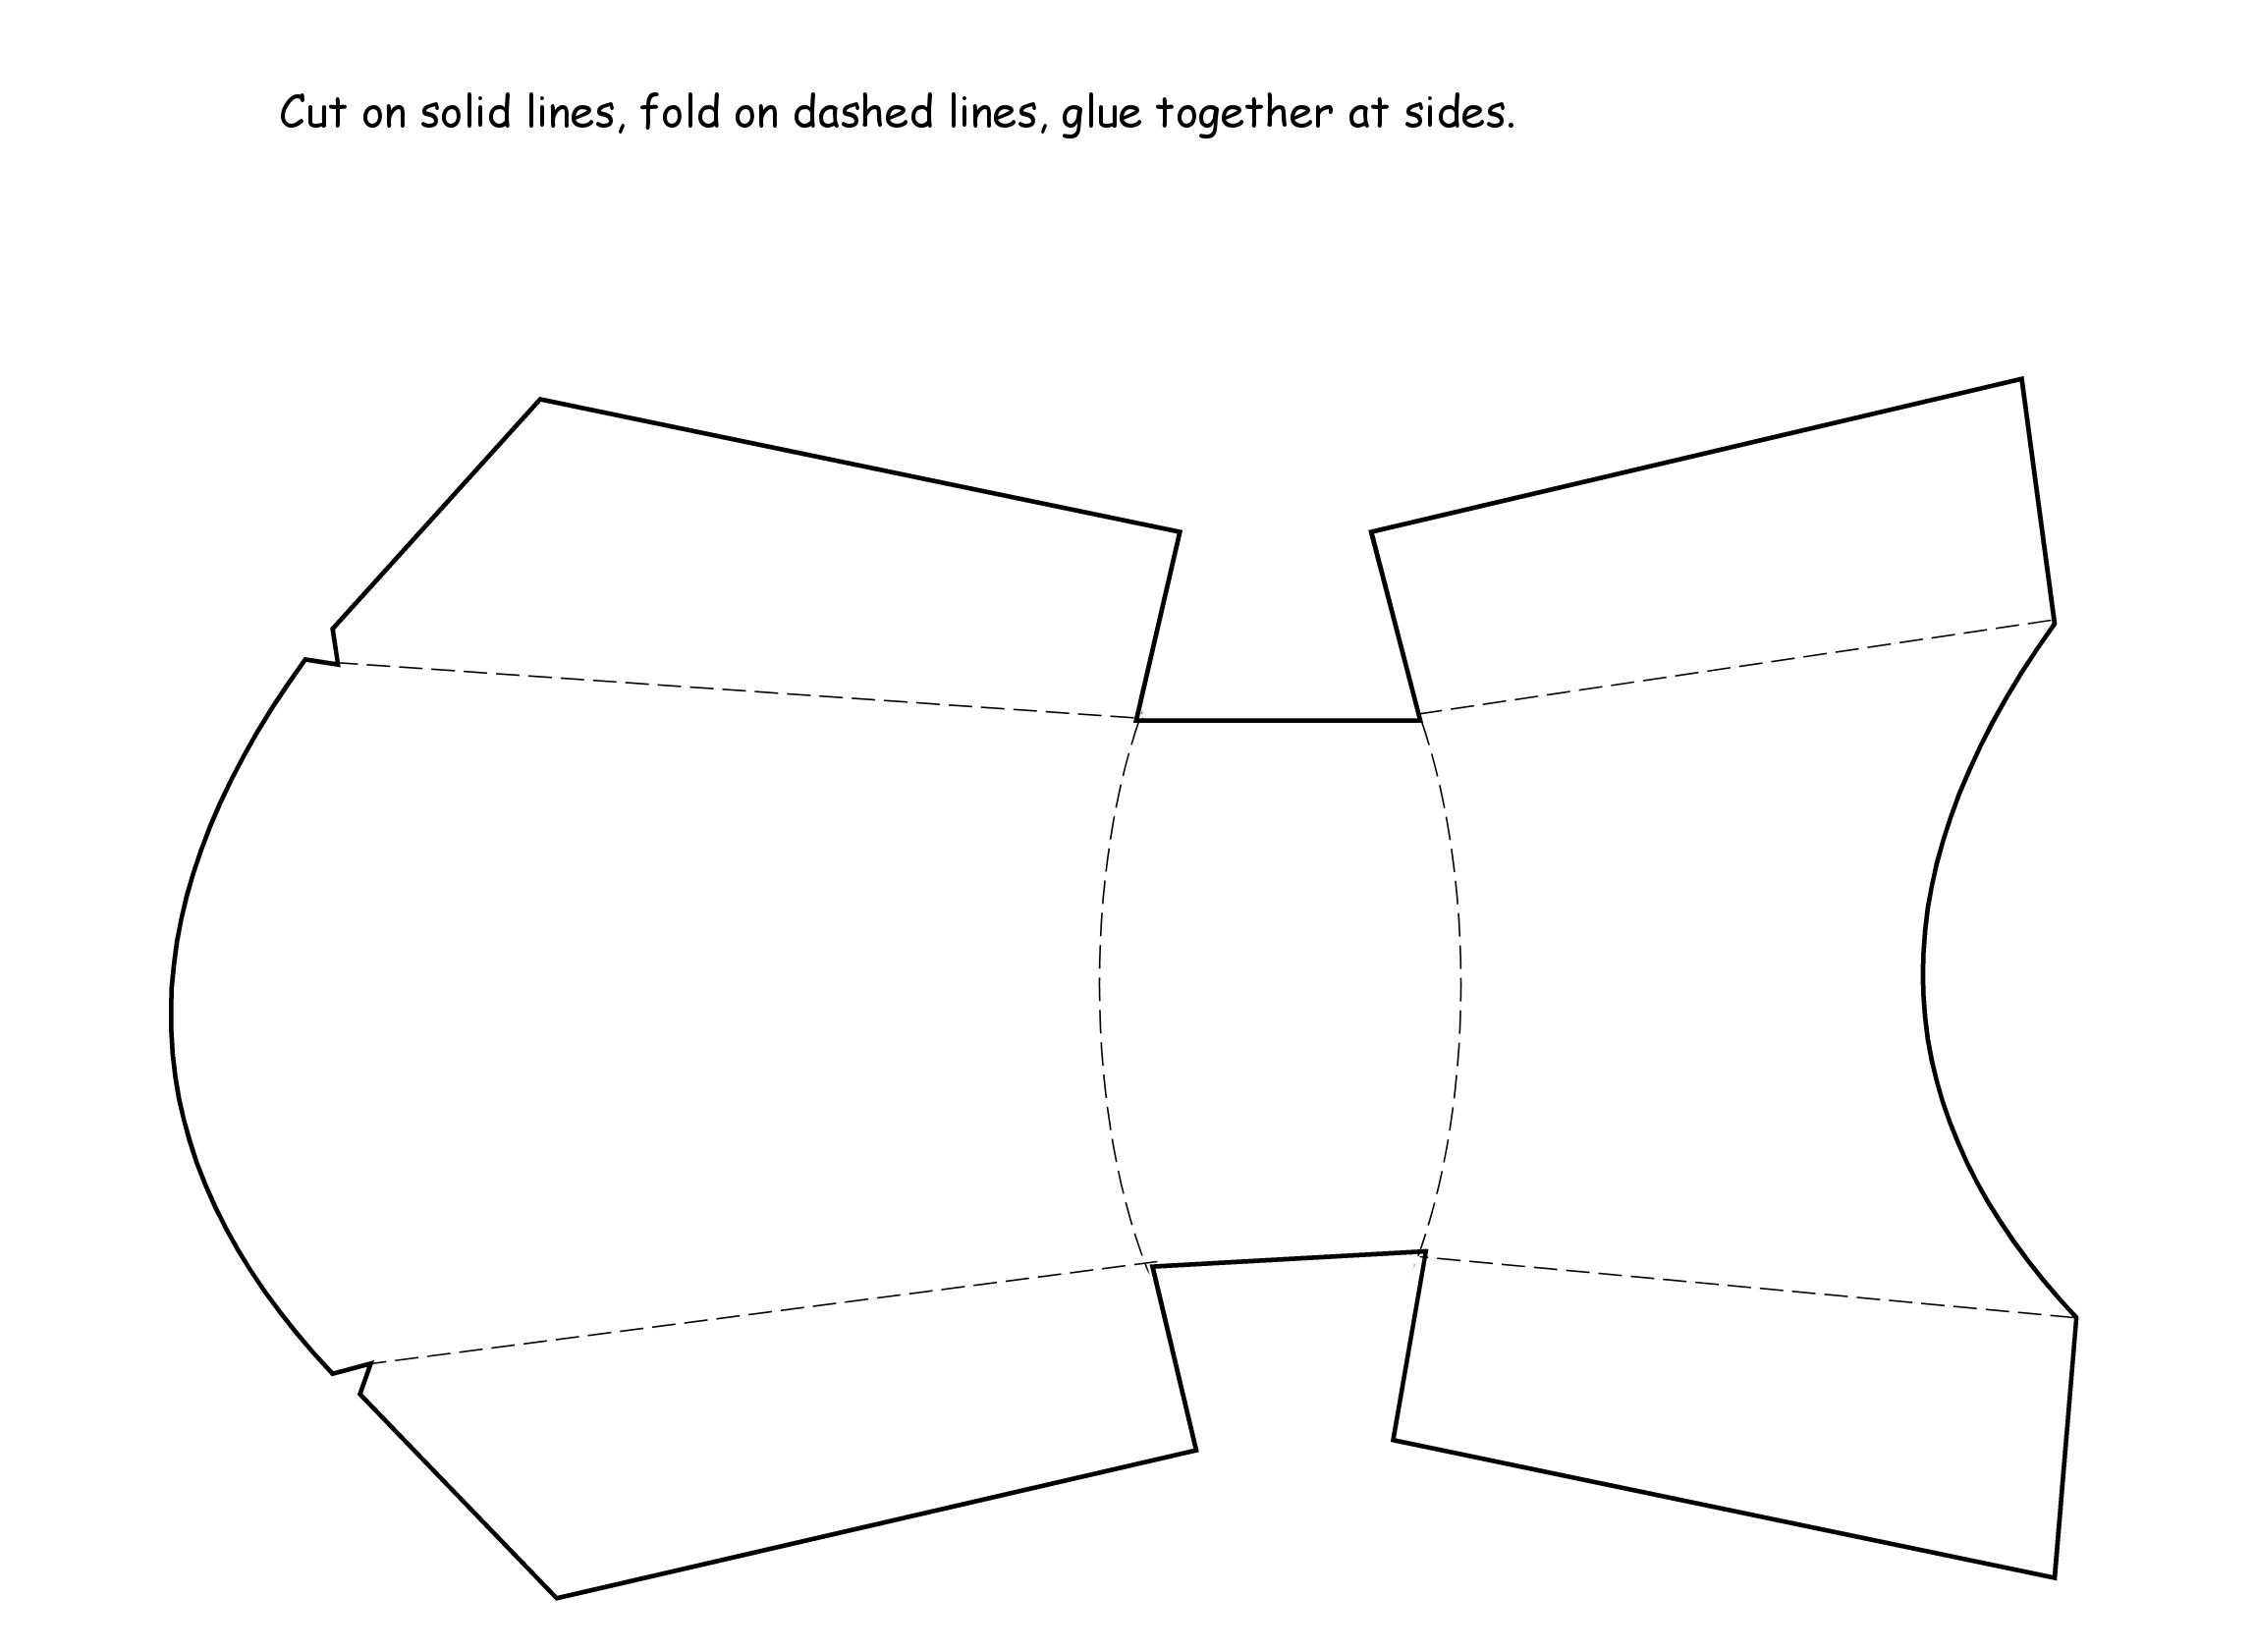
It's "Weekend Project" time. It's been a long time since I've posted a "Weekend Project".  I have been mostly posting cards and once in a while a notebook or two but today I thought I'd look for something fun to work on. I found this adorable candy box but it only had the pattern and not measurements for decorating it so I will walk you through those. You can go to the original post and download the template for the box. I printed mine out on Whisper White card stock. I would recommend, if you can, to print it out using draft so the ink is light. I didn't do that but it was a learning experience as I went. When I make another one sometime down the road I will have all of these tips so it will turn out better. Sorry about the layout here. Whenever I add two photos I can never seem to get my wording up at the top of the page. But it's still legible so that's what's important, right? You might want to read through this post before you begin assembling yours to avoid the pitfalls I encountered.  Also there is a tab that did not print but I didn't have any problems with the box not holding together without it.

After the box was printed I fussy cut it out and then I scored the lines. I used my scoring board to do that. I was a little disappointed that the lines didn't score straight but once I got the box put together it wasn't that noticeable. 

I did follow on that link how to fold the box up. I used glue to hold my box shut. Tape just doesn't seem to be strong enough.  I would recommend you tape that area on the box where the lid part opens. Tape it on the inside to help reinforce it. I had to redo my box because the lid tore off. So I taped that area to help hold it together. The lid of this box is not meant to be opened all the way, just opened enough to get the candy out. 

When you fold and glue the top inside flaps only glue those. Do not add glue to the top of that glued flap or the lid will be stuck and the box will never open. I glued mine and ended up adding some trimmed scotch tape over it so it wasn't sticky anymore. 

Once my box was assembled I began the decorating part.  Another thing I wished I had done before I taped the box shut because I found it a bit tricky to cut the card stock and the Designer Series Paper (DSP). I taped the card stock to the top part of the box, opened the lid and cut the bottom part of it off. I added my DSP from the "Ice Cream Corner" 12" x 12" pack and did the same, taped it at the top and cut the bottom off. Then I added those two pieces to the bottom part of the box.  I cut my card stock at 1-3/4" x 3" and I cut the DSP at 1-5/8" x 2-7/8".  

On the sides and tops I cut the card stock at 1/2" wide and 3" long for the sides and 1-3/4" for the top.  The right side was a bit tricky too. I taped the DSP to the card stock strip and set it on the side. I took a pencil and lightly drew the opening. I cut the opening piece away and then taped the strips to the side. 

Now I was ready to stamp. I used the ice cream cone image from the "Sweet Ice Cream" set. I  used Cajun Craze to stamp the cone part and Early Espresso to stamp the hash marks on it.  The ice cream was stamped using Melon Mambo. The sprinkles were stamped using Early Espresso ink. I used the matching punch to punch out the cone and the ice cream.

The words are from the "Darling Donkeys" set and were stamped using Early Espresso ink. I punched the words out using the "Classic Label" punch. I moved the words to one end of the punch and punched them out. Then I stuck the words to a post it note and punched the other side so I got a tiny Classic Label piece. 

I tied a ribbon around the box using some retired ribbon I had. Then I used two regular size Dimensionals to hold the ice cream to the top of the box. Smaller ones might have been better. Before I attached the ice cream, I set it on the lid where I wanted it to go and I lightly drew a pencil line to know where not to put Dimensionals.  I set the ice cream top in place.  Next I set the words in place at the very bottom using three small Dimensionals. Then I put glue on the back of the cone and set it in place under the ice cream. I held it down for a bit until it set up enough on the ribbon. I chose to use glue there because I knew tape wouldn't hold it down on top of the ribbon.  

Now it can be filled with little candies like Red Hots or Valentine's Day candy hearts. Candies about that size will fit in the opening.  

This was a fun project to do and I can see myself making more in the future.  Maybe for Easter!  And now you know all the tips, you should be able to make one (or lots) too!  What a fun party favor these would be.

Thank you SO very much for taking your time today to stop by and have a look,                                    Wanda

Edited on 2-4-21  I forgot to add the link to where to find the instructions and the template.

Saturday, April 16, 2016

Elmo Pyramid Pals Gift or Candy Box Party Favor

Today I would like to share with you one of the fun "Playful Pals" Pyramid Pal Thinlit's die box I made.  

As you can see it's Elmo!!!  I thought it would be fun to make him into a party favor.  It can also be used as a gift box (without the window if you want to keep what's inside a secret).  Before I put the box together, I punched a hole and added a piece of window sheet to the inside.  Now I had a cute viewing window.  I added some red mini M&M's in a piece of cling wrap and tied it shut.  Don't make it too big or it won't fit inside and then the back won't close either.  

Here is how it's made:
I made my red pyramid (leaving the back open for candies or gifts) and then I punched out some circled for the eyes, nose and mouth. It was super simple to make.  I did stamp some curly "fur" on the outside using Real Red ink before I put the box together.

Yup, as simple as that.  He was SO quick and easy to make.  And REALLY fun too!!  They don't take much card stock and you can use scraps for the details.  And he would be a great addition to a kids party!

Thank you SO much for visiting today,
Wanda

Sunday, October 11, 2015

Tree Punch Witches Hat Halloween Party Favor Weekend Project

Here is another fun project Terri shared with the Technique Tuesday Night group.  It's SO darn cute.  It's a witches hat made using two circle punches and the Christmas tree punch.  

We took the 1" circle punch and punched a hole in the black glitter paper.  Then we took the 2-1/2" circle punch and lined up the 1" hole so it was centered and we punched it out.  

Then we punched out 2 trees.  The trees were set in place with Dimensionals on both sides of a small pinch clothespin. 

Next the circle part was placed over the tip of the trees and bent slightly.  I added a small glue dot to each tree trunk and taped the brim in place.  I think glue would hold better, the tape has come off a couple of times.  

The bow was made with the bow punch and set in place on the side of the hat where the brim meets.

It was very simple to make!  Wouldn't these make great party favors?  You can add a magnet to the back and put it on your refrigerator!  These were very fun, quick, and easy to make.

Updated 10-23-15    I just found a video on how to make this hat.  You can see it here.

Thank you SO much for visiting today,
Wanda

Friday, October 09, 2015

Home For Christmas Santa Candy Party Favor Weekend Project

Today I am going to share with you a fun party favor I made at Terri's fun Stamping Extravaganza.  

The Santa image is from the  "Home for Christmas" paper pack. It's such a fun pack of paper.  There's SO may cute and fun images in it.  There are several different poses that Santa is in. 

Santa was punched using the 1-3/4" circle punch.  He was set in place on a Real Red scalloped circle using Dimensionals. 

Then he was stuck to a small pinch clothes pin using Dimensionals.

Next we took the Twizzler and opened the clothes pin and pinched the end of it to hold it.  

A ribbon was tied around the wrapper and viola, it's done!

Isn't it adorable?  Wouldn't it make a great teacher gift or gifts for students, the mail carrier, the UPS driver, Stocking Stuffers, etc?  It has lots of possibilities.  Even a craft fair item!!

Thank you SO much for visiting today,
Wanda

Friday, August 14, 2015

Elephant Fry Box Party Favor Skipping Stone Designs

Summer is time for those movies in the park, a backyard movie or just something fun for your family reunion.  Today I have for you a sneak peek of the fry box I made using the fun Elephant stamp by Stepping Stone Designs.  You can see the whole card here.  

You can get a free fry box template here.  Just put your favorite card stock in your printer (if it can handle thicker paper) and print it out.  Or you can print it out on copier paper and use it as a pattern.

Before I put my box together I pierced some holes along the tops of the back and front of the box.  I sewed (with a needle!!!) some Baker's Twine through the holes.  On the back piece I tied a bow. It's a bit difficult to see because of the peanuts.  I did glue the fry box together.  I find that glue holds a lot better than tape. 

I stamped the elephant on gray polka dot decorative paper and fussy cut him out!  I used a gel pen to color in the toes, tusks, and ears.  I colored the ears in so I could take a pink marker and color them in.  

I punched out a scalloped circle and attached it to the fry box.  I used glue because of the arch of the box I didn't think tape would hold.  And I also glued the elephant.  

These fry boxes go together quickly so if you need to make a lot you can mass produce them in a few hours. I would recommend you cut and glue the fry boxes and set them aside to set up.  I don't recommend gluing on the scalloped circle because of the arch of the box may cause the circle to bend, pinch or fold.  

Thank you SO much for visiting today,
Wanda


Tuesday, June 30, 2015

4th of July Party Favor Weekend Project

Today's post is a quick one.  This is another version of the "Party Favor" technique.  This one was made by Nancy, one of the gals in Terri's Technique Tuesday group.  She used a full size candy bar to make her version of this technique.  Originally Hershey Nuggets are used.  Nancy designed the holder to fit the candy bar.  I like that idea.  It makes the technique even more versatile!!!

You can find the original post here. It includes a link to the instructions to make one of the favors that holds the Nuggets.  

This is such a great 4th of July favor!  I love now Nancy used the stars across the ends.  She did a great job making it so Patriotic looking!!!

Thank you SO much for visiting today,
Wanda

Monday, June 15, 2015

Teeny Tiny Wishes Wedding Graduation Shower Party Favor

Tomorrow night I will  be helping Terri at her downline Technique Night.  The instructions for this project can be found here.  

I will be participating in the card swap tomorrow night.  I don't often find time to play in the swaps but this time I did have time to make the project.  Last month this technique and the Northern Lights one was taught to the group and this month we swap the one of those techniques.  So here's my card for tomorrow.  It actually opens up, the Bermuda Blue card stock is a folded half sheet.   

I'm cutting this post short because I have only finished this one and I need to finish up the other 9 before I go to bed soon!  So I'm off to assemble!


Thank you SO much for visiting today,
Wanda

Wednesday, May 20, 2015

Graduation, Wedding, Shower Party Favors

Last night at Terri's very fun Technique Tuesday for her downline, they got to make this fun party favor.  

This one was actually made into a card.  I should have taken the photo at an angle so you can see that the part where the ribbon is tied is actually a "box" where you slide in 3 Hershey Nuggets.  I did not come up with this idea, I found it online.  I had made one before and I actually taught the group how to do this.  It was fun teaching there.  I had not done that in a VERY long time.  

I do not know the name of the stamp set that was used here.  That usually means that I don't own it.  I would like to own it but I saw the new catalog and there's too many things in it that I want, so I will not be getting this set.

Anyway, if you'd like to learn how to make theses fun party favors you can find at link to it on my first posting of this project.  

These would make very fun and adorable thank you's for a graduation party, wedding, a baby shower, and a wedding shower.  Plus they make a nice card that an be used as a birthday (as shown), a get well gesture or even just a thinking of you card.  And surprisingly so, they don't take long to make at all!!!  Give one a try and you'll be making more!!!

Thank you SO much for visiting today and have fun with these!
Wanda

Friday, April 24, 2015

Teeny Tiny Wishes Party Favor

Today I wanted to see if I could work the Party Favor candy holder into more of a card form.  And I did!!!  

For this card, I used the "Lullaby" decorative paper and the soon to be retiring Crisp Cantaloupe card stock.  There was very little stamping done here.  I used the "Teeny Tiny Wishes" and the set, and the "Bitty Banners" Framelits to cut the words out.

I used the "Bow Builder" punch for the adorable bow on the right side.  And ribbon was tied on the left to hold in the candies.  

The instructions for this fun party favor can be found here.  These are so fun and easy to make.  I'm pretty sure I will be making a bunch of these for a baby shower in the near future!!!  I think these would also make a great stocking stuffer or even a teacher gift!!  Oh and don't forget the Hostess gift or Customer Appreciation gift.  What a fun little thing to give away along with the instructions to make them!!!

Thank you SO much for visiting today,
Wanda

Thursday, April 16, 2015

Something Borrowed and Teeny Tiny Wishes Wedding Favor

Today I was playing with some of this fun "Something Borrowed" decorative paper.  I always think wedding when I see this paper.  I found a fun party favor to make and this wedding paper came to mind.  Well, both items kind of found themselves together!  I can't find the link to where I got the pattern, so I will have to give you the measurements and how to make it.

Take a piece of 3" x 7-1/2" card stock.  I used Sahara Sand.  Score the piece on the long side at 1-3/8", 1-7/8" 3-1/4", and 3-3/4".  Fold the score lines to form a rectangle box.  Use Sticky Strip to tape the bottom part of the box.  Now you can decorate the box as you wish.

I used the Something Borrowed paper to decorate mine.  I cut the pieces as follows:  the top piece measures 1-1/8" x 2-3/4" and the larger piece on the side measures 2-1/8" x 2-3/4".  I added the "thank you" using the Teeny Tiny Wishes set.  Then I set it in place using Dimensionals.  I added some pearls to the front and then I filled that box space in with 3 Hershey's  Nuggets and tied a ribbon around it.  SO quick and simple.  I could see doing this for a baby shower or even a graduation!

Thank you SO much for visiting today,
Wanda

Wednesday, December 11, 2013

Color Me Christmas Fries

Yup, you read that right.  "Color Me Christmas Fries!".  There's lots of fun things you can do with a fry box!  I saw one someone had posted that had the Christmas Sixlets in them.  How cute was that?  They stood up like fries would in a box.  Though you'd either have to have a smaller fry box or a whole bag of Sixlets to get them to all stand up and not have the box look like you skimped on them.  I just find it easier to fill a sandwich bag with candy and tie it closed.  Then set it in the fry box and allow the candy to settle in the bag and box at the same time.  And this is what you get!  

You can get your free pattern to the fry box right here. It's from Split Coast Stampers so you know it's a pattern you can trust.  It's been tested a lot of times by many stampers!

I made my fry box using Cherry Cobbler card stock.  I found a sample of this fry box at Pink Buckaroo Designs.  

Once the box was put together I added a piece of decorative paper from the "Season of Style" DSP stack.  Because the paper isn't long enough to go around the whole box, I cut it off at the back edge of the sides of the box.  Who looks at the back of the box anyway?  All the fun stuff is on the front!  I glued the DSP on and set it aside to setup while I worked on the tree.


The tree is from the "Color Me Christmas" set.  I stamped the tree using StazOn ink and then colored it in with markers.  I used Old Olive for the tree, Crumb Cake for the trunk and Daffodil Delight for the star.  I didn't color the bulbs in because I was going to use the Candy Dots for the lights.  Before I put the lights on I used the oval die and cut out the tree.  I also glued the oval in place.  I wanted to make sure it wouldn't lift off.  If I had taped it, it may have lifted off because the fry box is not flat.  Once the oval was set up I filled a sandwich bag with candies and I tied the bag off using Baker's Twine and it was all placed inside the box.  As simple as that.  I would LOVE to have the time to make a whole bunch of these for the family for Christmas eve but I need 17 of them!!!  So I think I will be shelving that idea until next year or the year after!!!  LOL


This was a fun project to make.  It's quick too.  But then again I was only making one!

Thank you every so much for visiting today,
Wanda

Tuesday, November 19, 2013

Envelope Maker Party Popper Weekend Project

I actually accidentally ran across this fun Party Popper while surfing for the Santa card I made yesterday.  I thought I would give this a whirl.  I did like to play with the party popper die that Stampin' Up! use to sell but this is a great replacement.  I get to use the envelope punch.  I want to wear that thing out before it retires!!! LOL

I used Soft Sky paper on mine and I used the snowflake paper from the "Winter Frost" paper stack.  And I did layer that decorative paper on top of a piece of Basic Gray card stock.  I had cut the card stock 1-7/8" x 1-3/8" and I cut the decorative paper 1/8" less on two sides.  I added some pearls all around the piece and I called it done!  My plan was to put a die cut snowflake on it but I just went with the pearls instead.  

You can find the directions for this fun party popper here at LibbyStamps.   There is a video and written instructions.  I much prefer the written instructions.  I find that the videos tend to waste more time.  I don't care much for watching people cut or score or even embellish.  Just show me the finished product, the instructions with measurements and let me play!  I can cut and score and embellish without having to see that being done!  Just the basics is all I really need in a video.  So when I see that the designer has written instructions too I tend to go there instead!  Anyway, have fun making these!

Thank you for visiting today,
Wanda


Friday, May 18, 2012

Smarties Graduation Cap Party Favor Weekend Project


I cut a strip of black card stock 3/8” wide by 3-1/4” long.  I wrapped it around the Smarties package and poked a hole in the top one that went through the other end of the strip behind it but not all the way through.  I didn’t want it to poke a hole in the candy wrapper.  Then I punched out a 1-1/4” square and poked a hole in the center of it.  I took a brad and poked it through the square and then the two strip ends.  I folded over the brad ends and then slipped the band over the candy.   And the final touch is to tie a piece of Baker’s Twine around the brad to make it look like a tassel.  And that’s it.  These are SO simple to make and fun for that graduation party.  And it’s not chocolate so you can set them outside and not have to worry about them melting.

This was not a bit project I had brewing but it was sitting on paper for a few weeks now waiting for me to find the time to put it all together.  Lucky you, today was that day!!

Thank you SO much for visiting today,
Wanda

Tuesday, May 01, 2012

Life Saver Thank You Treat Weekend Project

 Are you looking for something fun to give to your customers to say "thank you?"  I have a fun little project here for you to play with.  This doesn't have to be just for customers, it can be a very fun party favor too for showers, graduations and weddings.  Just find the papers you want for the occasion and you are set!

For this project you will need the 2 Tags die.  I cut one out and folded it up from the bottom 1-1/2".  I did not crease it at the bottom, I left it rounded.  My paper here is from the Spice Cake pack. 

Next I used the Circle Circus set and stamped one of the images using Pool Party ink.  I punched out the image with the scallop circle punch and I taped it in place on the top part of the tag. 

I took a foam mat and a pin and poked holes in the sides where I wanted the brads to go in.  Now there is a little trick to get the brads even.  You could measure but what I did was I cut out another tag out of scrap copier paper and poked a hole on one side.  I folded it in half the long way and poked the holes on the other side to match.  Now you can make them all perfect!

I punched out a More Mustard piece using the Round Tab punch.  I stamped the "thank you" from the Teeny Tiny Wishes set.  I actually got them on straight!  I had scored the center of the tab before I stamped on it and then I lined up the wood on the stamp with that scored line and viola, it was straight.  It could have been moved over to the left a smidgen but hey, it's straight!!!  I taped that tab (both sides - inside) and slipped the Life Saver inside.  I pinched the tab shut to make the tape stick to the wrapper better.  I slipped the candy in the little pouch.

I took a tiny flower punch and punched out 3 Pool Party flowers.  I set the flowers on a foam mat and then I took the end of an ink pen and  rolled it around the center of the flower so it curled up a bit.  I punched out some tiny white circles and glued them to the inside of the flowers.  I glued the flowers in place and the project was done.  

My niece is getting married this December and I think these would be a fun thing to make for each table setting.  I'm going to wait to see what new papers Stampin' Up! is going to come out with and then decide what I'm going to do for the favors!  I think it's going to be a fun thing to make.  I'll probably stick with one flavor of Life Savers since I want them to match the theme.  Here the red Life Saver doesn't match the project.  I did have some white Wintergreen ones but I remembered that after it was all done.  That is SO me!!! LOL  The red one worked fine for this project but just before I posted this here I did remove the red Life Saver and added a white one.  The tape sticks to the plastic wrapper but it doesn't stick to it like it does to paper so it was easy to remove and replace without ruining anything.

When I make this for the wedding I'll be sure to share the project with you.  There will be a few of us working on them so it won't take long to make a bunch of them up!  Nothing does when you have help

Thank you SO much for visiting today,
Wanda 

Thursday, April 26, 2012

Candy Bar Card Holder "Thing"

 Don't you just love the title of this post?  LOL  Score Pal calls it a Candy Bar Card.  It's a very fun project.  I hope you decorate the front of yours better than I did the front of mine.  I may redo it later tonight.  I like the flower idea using the punch that goes with the Mixed Bunch set. And I did stamp one of the flower images from the Mixed Bunch set to put on the front.  

To make this fun project I did go to Score Pal's web site and download the instructions for their candy bar holder.  I did get confused reading them though.  I wasn't clear on what side to score on.  I normally tell people to "score on the short side" or "score on the long side."  It seems to be wording that everyone understands.  So I struggled with it for a bit and then decided to just put the candy bar down on the scoring pad and just made the holder from there.  I am planning on making another one so when I get it done I will post my instructions and measurements here for you.  

I used the Spice Cake decorative papers on the front, inside and even the back.  I had layered them on top of a piece of Chocolate Chip card stock.  The holder is made using a piece of Pool Party card stock.  It's such a fun and pretty color.  

These are very fun gifts to make for birthday parties, co-worker gifts plus many other events.  And decorated for the holidays it would make a great stocking stuffer too!  

I hope you have fun making them.  And like I said I will post my version of the instructions for you.  Mine is all one piece where the Score Pal one is two separate pieces.  Not that there is anything wrong with that, I just found their instructions difficult to follow.  I'm going to give their instructions another try.  I was in a bit of a hurry and the feeling of being rushed may have caused me to not quite understand what is going on with the instructions.  I'll keep you posted on that too!!! LOL  Ok, I'm off to teach a class at the bead shop! 

Thank you SO much for visiting today,
Wanda


Saturday, February 18, 2012

Characters Made From Punches

I just love these characters that are made entirely from punches.  This cute panda was made by Irene (my new stamping friend!).  She came to my home on Thursday night for Stamp Till You Cramp. It was her first time here and I did warn her that my workroom is overwhelming.  I always recommend that newbies bring a list of cards they would like to make.  It helps them to not feel so overwhelmed and it also gives them some direction and feel for the room and where things are.  But personally, I don't know where everything is either!!! LOL  

Irene brought these cute panda treat bags for everyone!  Wasn't that just sweet of her?  Thank you Irene, everyone loved them!

I didn't show mine to my sister, I know it would have ended up going home with her!!!  She's a nut for this punched characters.  I may part with it sometime but not right now!!! I'm so mean!! LOL


Thank you SO much for visiting today,
Wanda

Thursday, January 05, 2012

Sizzix Die Spring Gift Box

The die I used here is a ScoreBoards XL die.  This one is much like the Stampin' Up! Box #2.  You could always use the new edgers dies on the end to give the flap a new look!  This one is called a "Bag, Caddy".  It produces just two pieces.  The back part is just flat and the front part is the pocket.  I like that because it allows me to change the back piece on my own.  I can cut out the front part and then use my cutter to cut out the back by hand to make it even taller if I need to.  It provides me with a little more versatility.

And like with most of these types of dies, you can cut out two and make it into a tote.  

I cut mine out and then added the decorative paper.  Then I filled it with the fun flower candies I got at The Dollar Tree.  I added some crinkles to the pocket.  Finally I added some die cut flowers and wording to the front of the pocket.  These pockets can be used for lots of occasions.  They would make great gifts and party favors!  

I have future plans for this die and of course I will share them with you when I get them done!!

Thank you SO much for visiting today,
Wanda

Tuesday, July 26, 2011

It's a Wrap Occasions Hershey Candies Weekend Project

Ok, when I saw this set in the catalog I KNEW I had to buy it.  And it was the first thing I put on my order too!!  I LOVE doing this kind of stuff and now Stampin' Up! has made it even easier!  Gotta LOVE that!

I thought I would start out with the "Thanks SO much" image.  I did stamp these on a mailing label.  You can use ones from any company, they are all the same size.  After stamping them I cut strips of copier paper at 1" wide and 2-3/4" long.  These strips are longer than the labels and you MUST do it like this.  Hershey has laws about what you do with their products.  You are allowed to cover these nuggets but you are NOT allowed to stick anything directly to their wrappers, nor are you allowed to remove the wrapper and decorate the candies.  SO what you can do is create a belly band type thing. By cutting the strip 2-3/4" you have made it long enough to go around the whole wrapper.  A mailing label will not go around the whole wrapper.  Affix your label on the strip about a half inch from the edge.  This 1/2" piece is where your label is going to stick to on the back.   It will wrap all the way around the candy forming a band that the candy, when pushed, will slide out.  You are now in compliance with the makers of the Hershey Nuggets!  As simple as that!  Just a little side note here, I opted to use copier because it is thin and would bend nicer than card stock.  You can also use decorative paper here but it's not going to show much at all which makes it kind of a waste to use.  But if you want to work in your decorative papers on these, you can wrap them around as your belly band and then stamp the image and cut the center part out and affix it to the dp.  See, there is a way to use it if you really want to dress up these little nuggets!!

I think these are going to be a lot of fun.  There is a get well one, a shower one, an apple (teacher) one, a Mr & Mrs one, a baby one and a birthday one!  How fun is that?  I just LOVE it!!  With our son's wedding coming up in January I am going to make the "Mr & Mrs" ones to have at the Groom's Dinner!!  Won't that be fun, party favors for every occasion?? 

Won't these be great as a customer gift and if you are not a demonstrator, they will make great little thank you's for the neighbor, the mail carrier, etc!!  I need to get some more bags of nuggets!!!  I actually bought a bag after I had paged through the catalog and saw the set.  Ok, I did wait until it was grocery shopping day to go.  I did not make a special trip for nuggets I couldn't do anything with yet!!!  

Thank you SO much for visiting today,
Wanda

Saturday, June 18, 2011

Decorative Chocolates Party Favors Weekend Project

I was playing around with some punches today and thought I would make some party favors.  

I used the new "Lace Ribbon Border" punch on top of a piece of crimped Marina Mist card stock that is wrapped around a wrapped Ghiradelli chocolate square.  I cut the crimped piece at 1-1/2" and then crimped it.  Then I just wrapped it around the candy and then I cut off the excess.  I had cut the 1-1/2" piece from the long side of the card stock so I had a 8=1/2" strip.  There was about 3" left after cutting it to fit.  

I then punched out the Lace Ribbon pieces and glued them in place over the top of the Marina Mist piece.  Next I punched out some flowers using the "Boho Blossoms" punch and I punched out some small circles for the center of the flowers using handheld punches.  

After putting the ribbon pieces on I then added the flowers and the flower centers.  There is still room on these to add a little stamped note if you wish too!  I just glued everything in place because I wanted to make sure they would stay in place in the event they get hung up on each other in the box I'm putting them in for travel. I hate to have to retape things and I don't want to risk having the flowers getting relocated and then have to try to remove them from wherever they landed without damaging any card stock strips.  So glue is the best for this.  Plus I thought it was quicker because of the tiny centers!  I REALLY hate taping those in place on anything!

These are now ready for the party.  I really like the new "Lace Ribbon Border" punch.  I can see myself using this in a lot of cards and projects!!!

Thank you SO much for visiting today,
Wanda