Pin It

Tuesday, June 03, 2025

Layers of Beauty, Simply Said, Birthday Card, Stampin' Up!

Hello and welcome to my blog. Today I have a pretty floral card to share with you. Please read on to see how it was made.

The base of my card is a folded half-sheet of Basic White card stock. It opens on the right and the fold is on the left. 
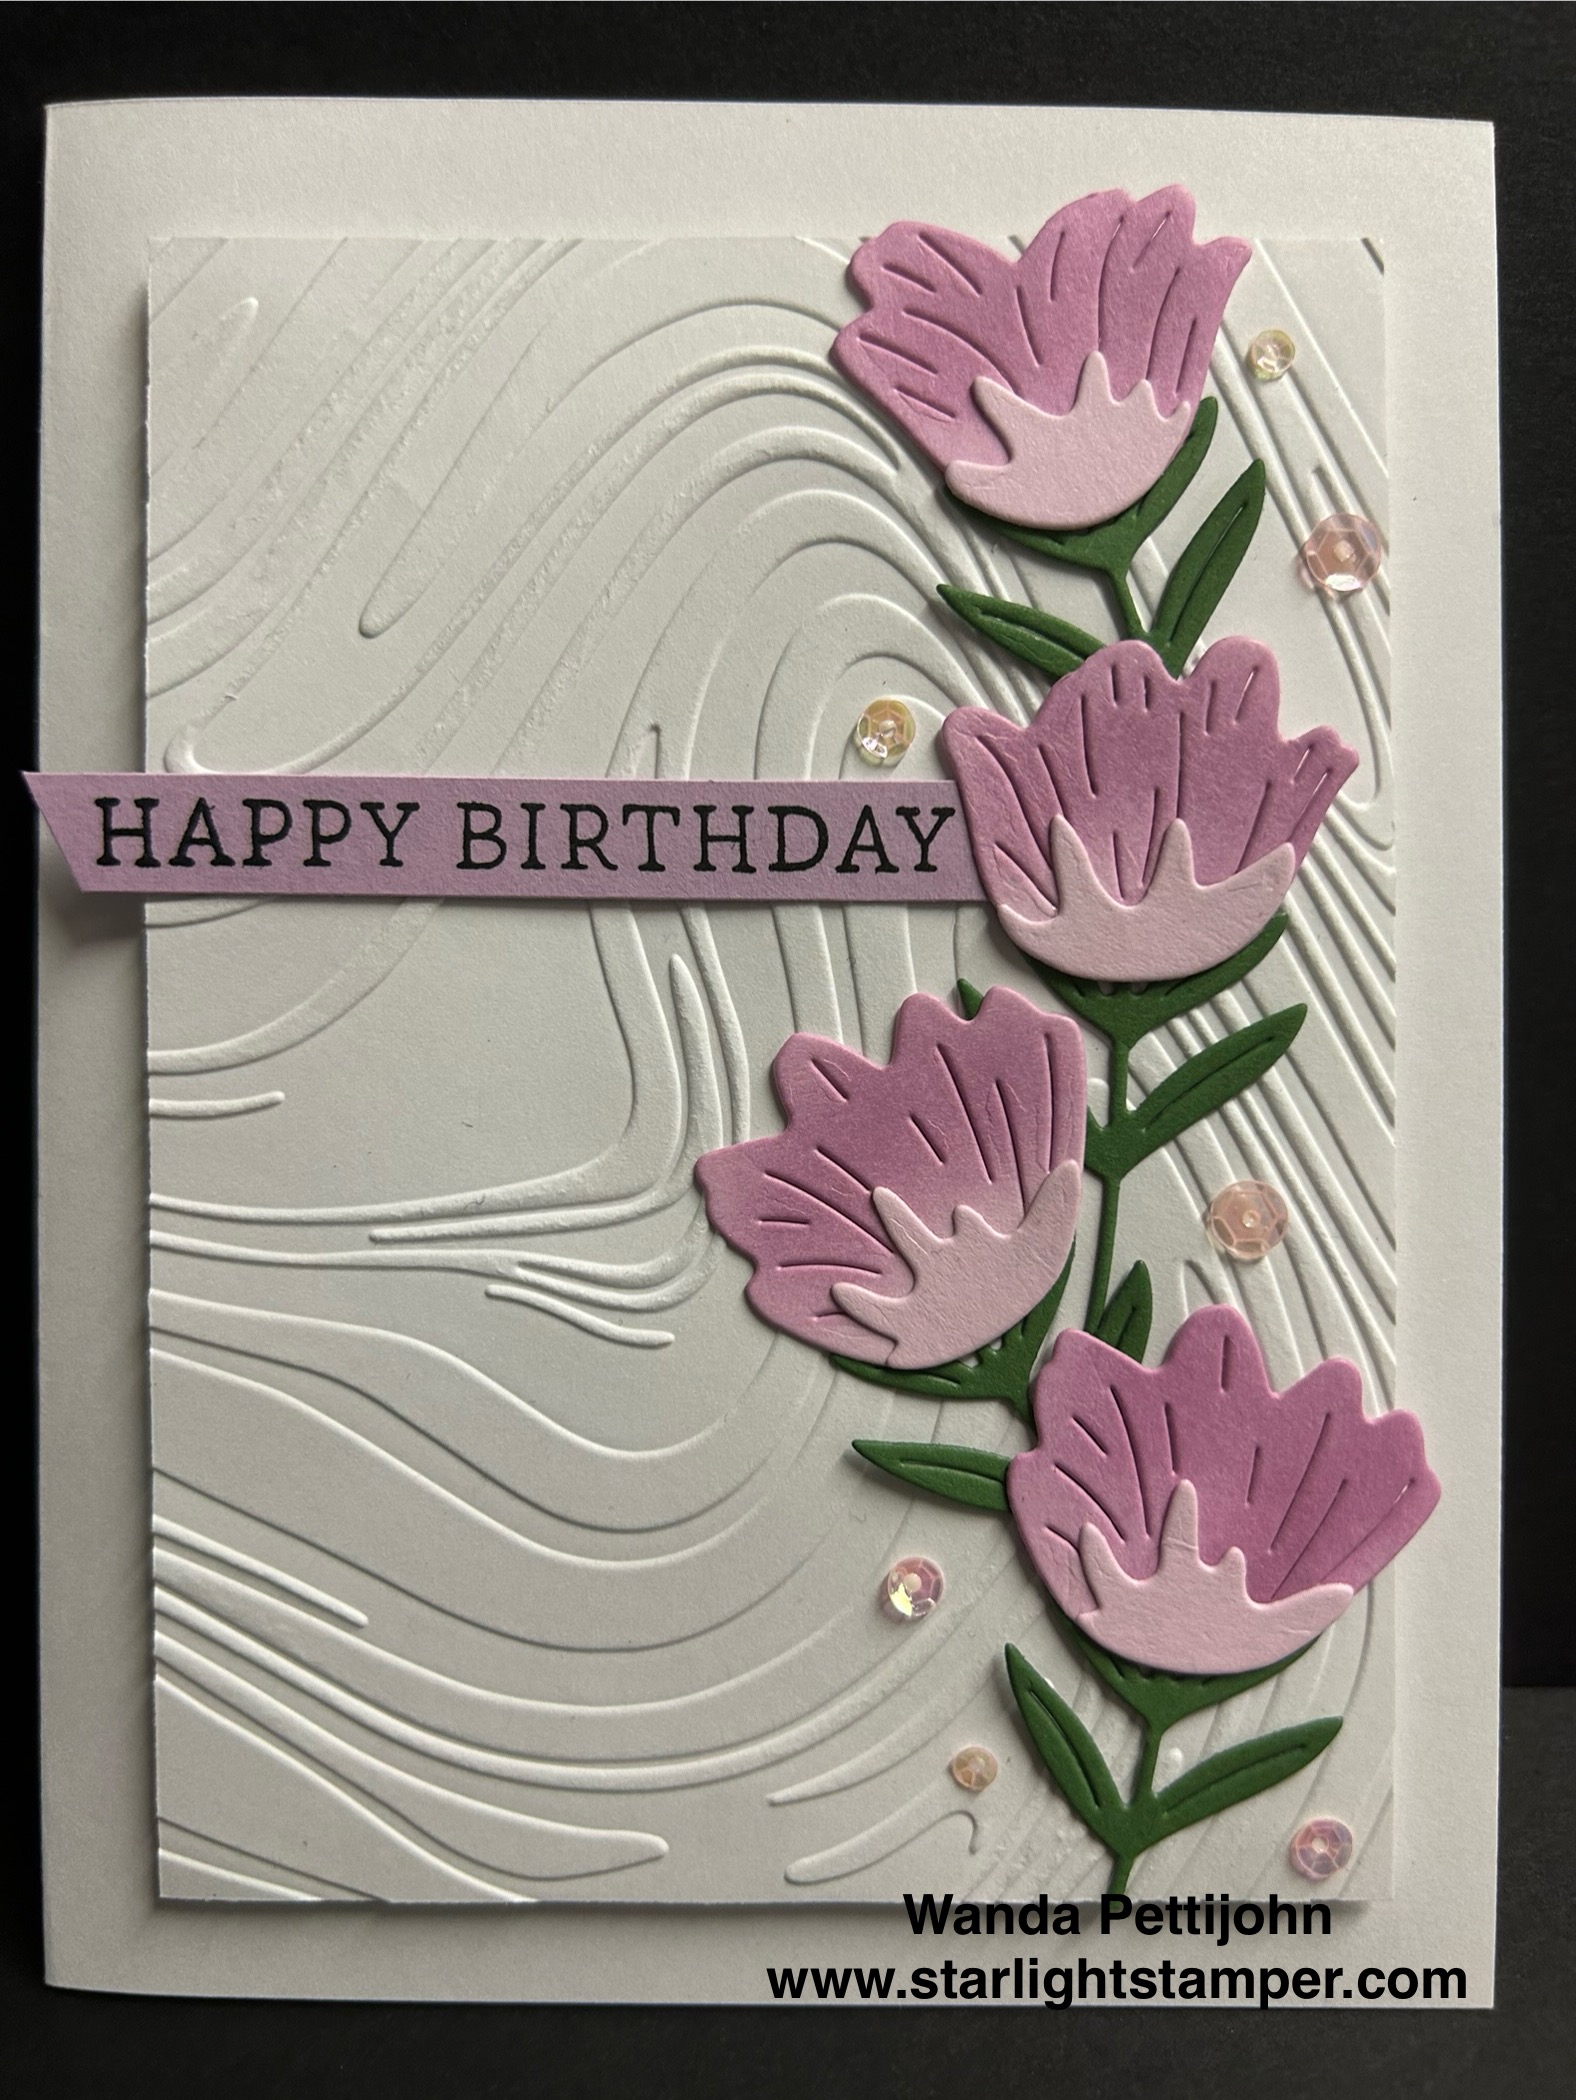
I cut a 3-7/8" x 5-1/8" piece of Basic White for the top layer. I textured that layer using the "Damask Designs" embossing folder. I glues that to the front of the card and placed it under my stamping mat to help keep it flat. Though the Mono glue doesn't warp cards, it's just a habit I have of placing cards under it. Oh and then I forget I placed it under the mat and I'm searching for it. Getting old is tough!  LOL

The floral image is from the "Layers of Beauty" bundle and was stamped using black Memento ink. The wonderfully fun part of this bundle is the masks. You just lay the masks (that are numbered) over the stamped image and with your Blending Brush you scrub on the colors. Here I used Bubble Bath, Petunia Pop and Berry Burst. SO pretty! And flor the leaves I used Old Olive for both layers. Using the same color on top of the other color just made it darker and it was the perfect shade of dark for the leaves. I had stamped my image twice because I needed to cut out the large flower with leaves and the smallest flower was a maybe. 

Once the coloring of the image was done I took the largest circle die in the "Stylish Shapes" set and cut it out. I wanted to access as much of the flowers as I could. The bottom flower didn't get in the circle much at all. I had fussy cut the large flower with some leaves and the smallest flower with some leaves. I set them aside. 

An Old Olive circle was cut using the same die. I taped it to the back of the floral circle, leaving a little of it exposed. I glued the circles to the front of the card centering it as much as I could by eyeing it.

Next I added the two fussy cut flowers using Dimensionals. I moved the smallest one enough so some of the leaves went over the circle. I thought it gave it a nice look since the large flower was doing it.

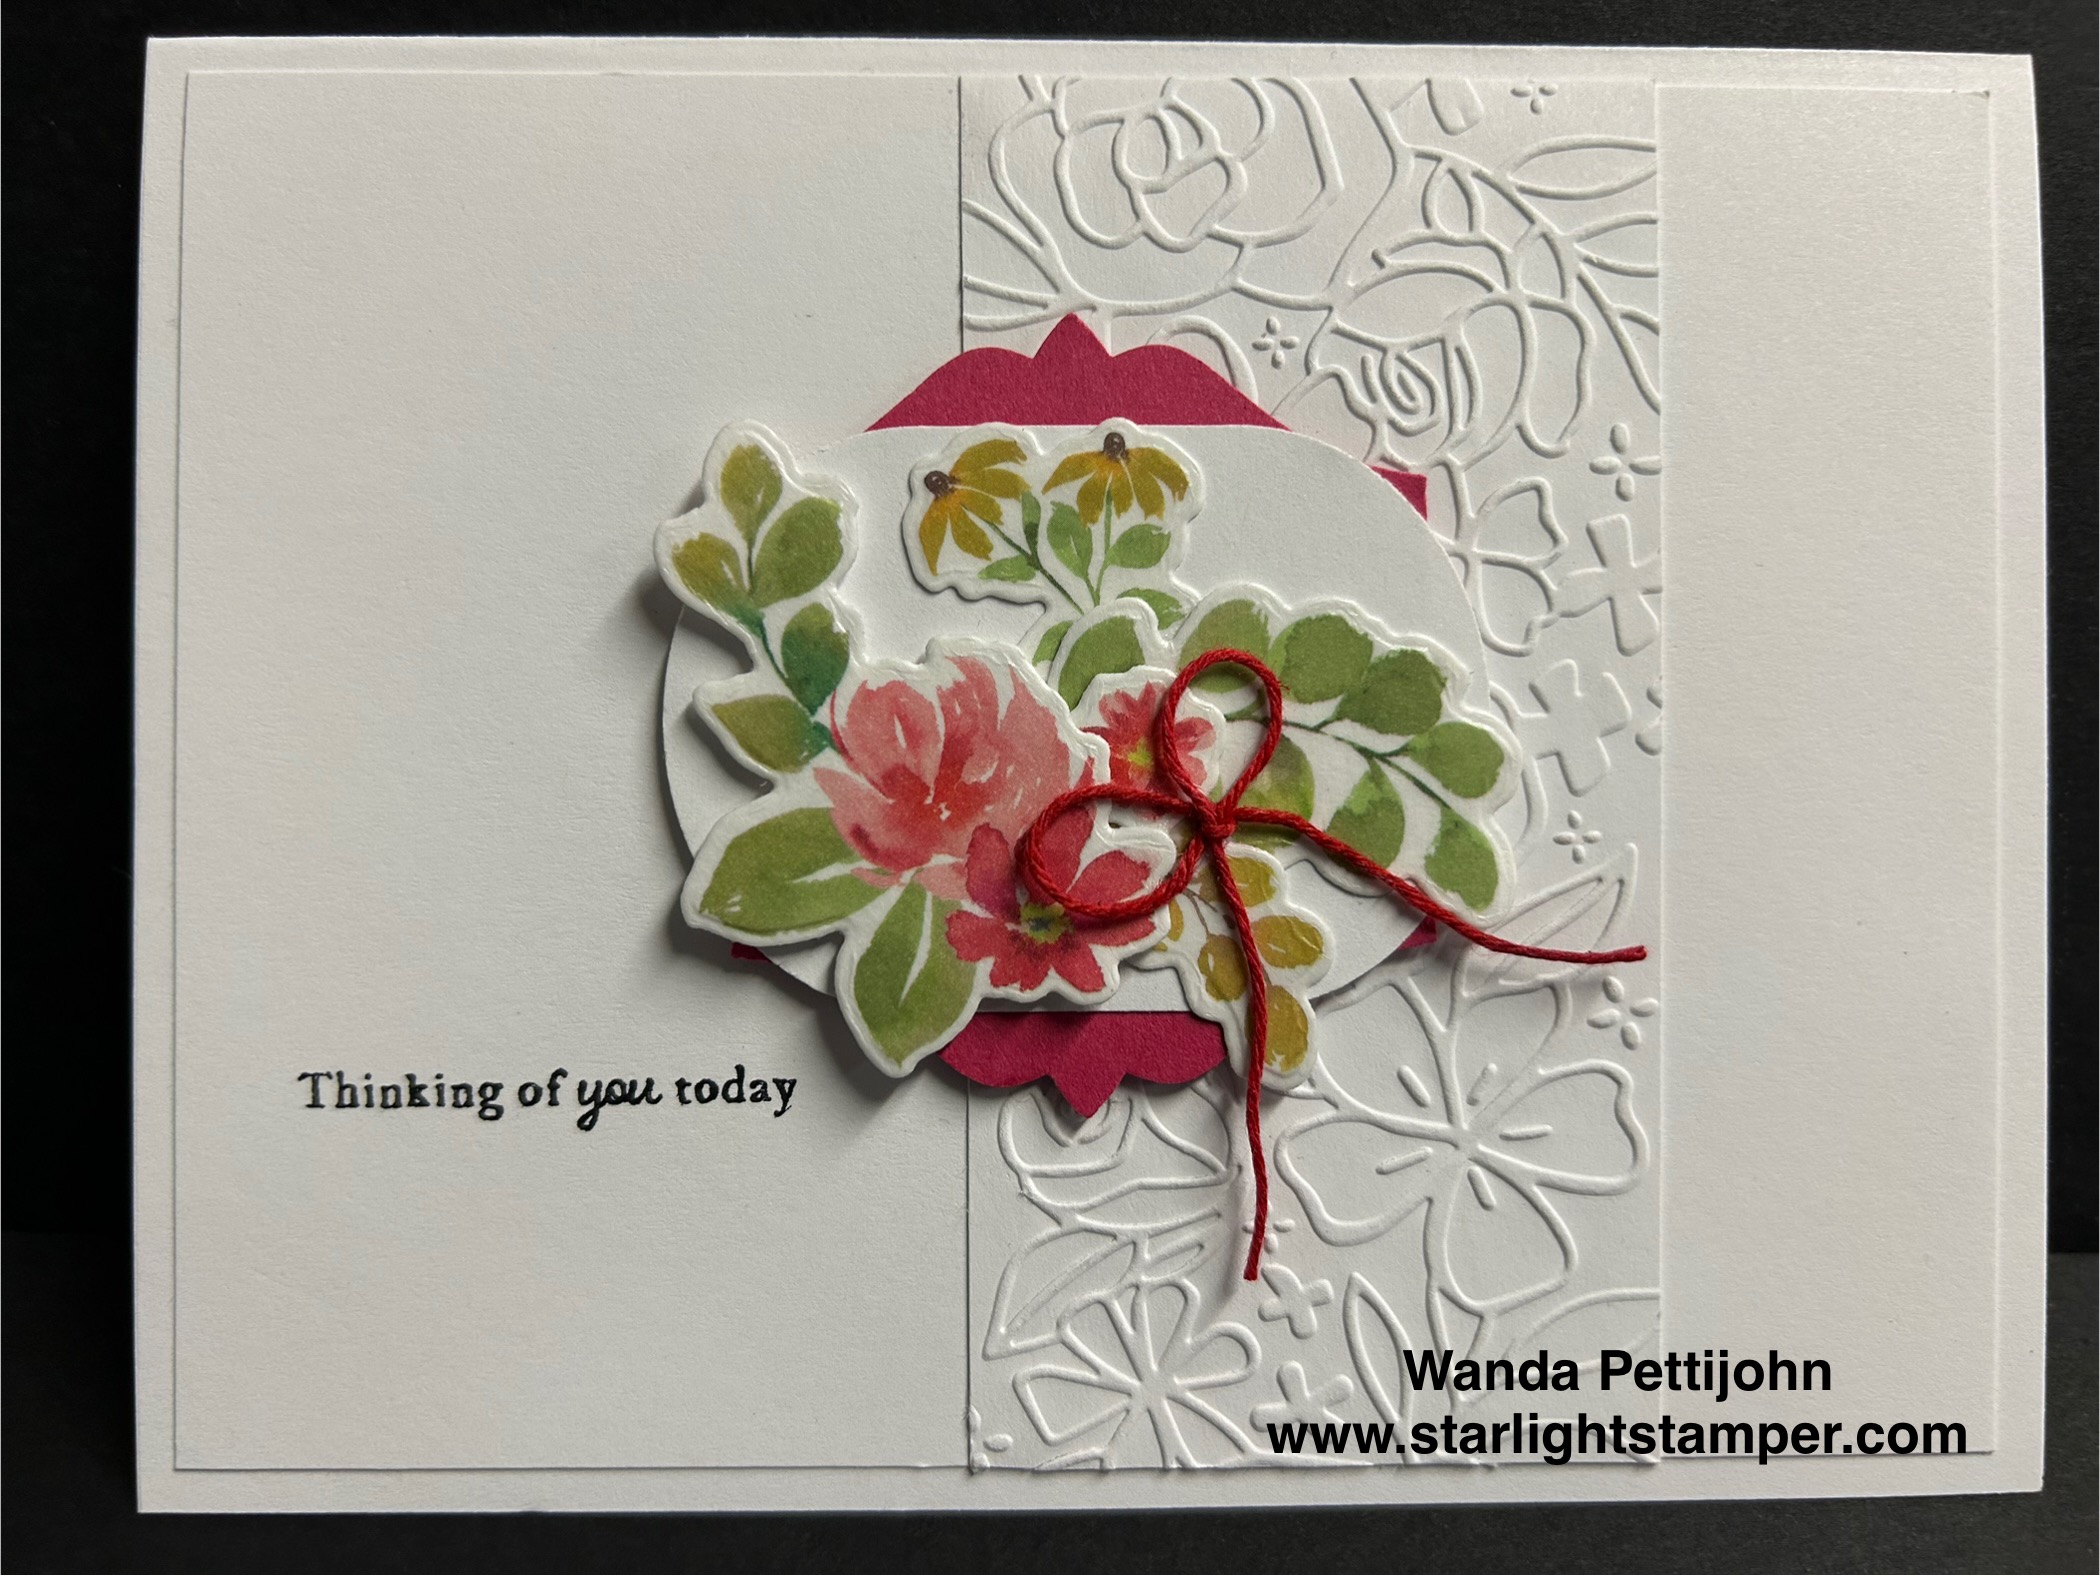
The words are from the "Simply Said" set and were stamped using black Memento ink. I cut them out with the banner die from the "Stylish Shapes" set. I also cut a Berry Burst one and taped the two together. I used the dotted lines on the Berry Burst piece to line up the word piece, just to give it a bit of a layer and color. The piece was then set in place using Dimensionals and the card was done.

This was such a fun card to make. I can not tell you how much I LOVE the stenciling. It makes it look like you are a master at coloring! 

Thank you SO much for taking your time to stop in and see today's birthday card,
Wanda

Monday, June 02, 2025

Extraordinary Flora, Gifts, Weekend Project, Stampin' Up!

Hello and welcome to my blog. Today I have a fun 3D project to share with you. This is a fun and super quick gift to make. Please read on to see how it was made. 

Terri has a great tutorial on how to cut out the "Extraordinary Flora" Washi tape using parchment paper. You can see her fantastic video here. Subscribe to her channel, it's free and it's FULL of wonderful cards and techniques. You can see that video here

After cutting out my flowers I affixed them to a clean Oui yogurt jar. Make sure you wipe it down with ribbing alcohol and let it dry before you add the flowers. 

Arrange the flowers to your liking. Rub them down with your fingers and that's it. 

Put a battery operated tea light inside and enjoy the beauty of the flowers showing through. It's SO much prettier in real life and with a candle "glowing" on the inside.

This would make a great gift or just keep it for yourself!

Thank you SO much for taking your time to see my quick and easy weekend project,
Wanda

Sunday, June 01, 2025

Notes & Totes, Beautiful Gallery, Just a Note Card, Stampin' Up!

Hello and welcome to my blog. Today I have a "just a note" card to share with you. This card could also be used as a friendship or thinking of you card. Please read on to see how I made it.

The base of my card is a folded half-sheet of Very Vanilla card stock. It opens on the right and the fold is on the left.

I cut a piece of Designer Series Paper (DSP) from the "Beautiful Gallery" 6" x 6" stack at 5" x 3-3/4".  I taped that to a 5-1/4" x 4" piece of Old Olive. Before taping the DSP to it I punched out the hexagon piece using the "Heartfelt Hexagon" punch. I cut that 2" piece in half and set it aside. After taping the DSP to the Old Olive piece I taped that to the front of the card.

The words are from the "Notes & Totes" set and I stamped them using black Memento ink on a piece of Very Vanilla card stock.  I punched them out using the "Heartfelt Hexagon" punch. I taped the Old Olive hexagon pieces to the back of the vanilla hexagon piece. Dimensionals were added to the back and it was set in place on the front of the card and the card was done.

How simple and quick was that? And pretty too!

Thank you SO very much for taking your time to stop in and see today's note card,
Wanda