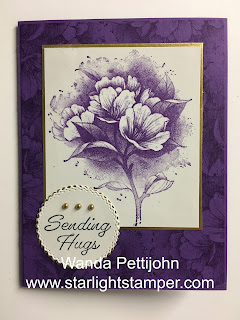
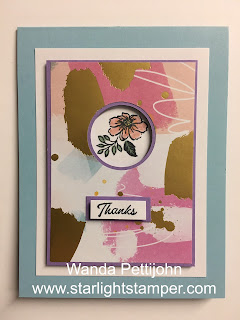
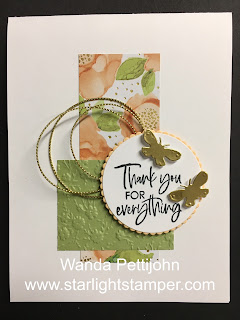
The base of my card is a folded half-sheet of Basic White card stock. Two pieces of Designer Series Paper (DSP) from the "Flowering Fields" 12" x 12" package were cut. One measures 4" x 5-1/4" and the other was cut at 3-3/4" x 5". The larger layer is the backside of the smaller flowered layer. I taped those two layers together.
Next I lined up my 1-7/8" circle die and cut it out in the upper part of the card. I tried to line up the sides and top to get the circle equal on those sides. After cutting the circle out I taped the layer to the front of the card. I set the die back in the open circle area and die cut the Basic White circle out on the front.
Then I cut a 5-1/4" x 8" piece of Merry Merlot card stock. I scored it at 4" and 6". I folded the piece in half, the raw edges are on the left and the fold line is on the right. I took the left raw edge and folded the scored piece towards the folded edge. The piece has a valley fold and a mountain fold. I taped the large unscored part of this piece to the inside of the Basic White card base.

Now here's the tricky part. I shut the card by first folding in the right Merry Merlot piece and then the font of the card base was closed. I slipped the scalloped circle layers between the piece so it showed up in the circle on the front of the card. I lifted the edge up a bit and put some tape under it. You can use glue if you prefer. Then I opened up the card and added some more tape to that side of the circle to make sure it stayed in place. Glue probably would have been easier to put in that tape but I often do things the hard way! LOL After the piece was set in place, I added three crystal rhinestones to the Basic White circle. A 3-3/4" x 5" piece of Basic White was added to the inside and the card was done.
This was a fun card to make. A very interesting fold too! I am not all that fond of it because the card doesn't stay closed. It does catch on the circle by the Basic White scallop but it's still partially open. Not a look I like. But all in all it's a pretty card and will brighten up someone's day.
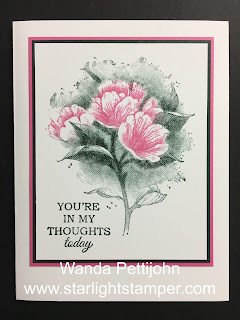
Thank you SO very much for taking your time to stop by and see today's thinking of you card,
Wanda