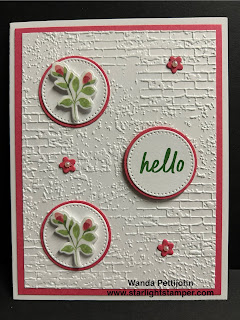
The base of my card is a folded half-sheet of Basic White card stock. It opens at the bottom and the fold is at the top. I cut a 4" x 5-1/4" piece of Basic White card stock and textured it using the "Damask Design" embossing folder.
I cut a 6" piece of ribbon (retired) and taped the ends to the back of the embossed piece. Then I glued that piece to the front of the card base. I set it under my stamping mat while I worked on the other parts of the card.
The words are from the "Layers of Beauty" bundle and were stamped using black Memento ink on a scrap piece of Basic White card stock. I cut them out using the third rectangle die in the "Stylish Shapes" set.
Next I took out my little baggie of pieces that were left over from die cutting out numerous sections of the "Extraordinary Flora" washi tape roll. I actually had all the pieces so I didn't need to cut another section and have even more pieces to add to the baggie! The card uses 6 pieces of the washi tape images.
Dimensionals were added to the back of the word piece and it was centered on the front of the card. I just eyed it as best as I could. But if you like to measure, it's 1-5/8" from the side edges and from the fold and bottom edge.
The flowers were added next. I used glue to put the top flower on as best as I could. Since my wording was different, I didn't have a lot of space to glue the images. The leaves behind it were trimmed down a bit so it would fit under the word piece without having to move any Dimensionals. It too was glued in place.
For the bottom flowers and greenery, I added the top greenery piece first and then there was a smaller one that kind of looked like the top one but it only has 3 leaves, was glued around the bottom corner area. I had it stick out more because again, I didn't have a lot of room on the word piece for adding my flowers. I did have to pull the lower leaf piece down a bit once the flower was glued in place so it would show more. That is the advantage of using the mono glue. The little flower was glued in place and that part was done.
I had some retired "Polished Dots" in my stash so I added three of them to the card and the card was done.
I really like the looks of this card. It was SO fun to make and it made a perfect anniversary card.
Thank you SO very much for taking your time to stop in and see today's anniversary card,
Wanda


