
I chose Balmy Blue for my main color because I have lots of it.
The base of my card is a folded half-sheet of Basic White card stock. My card opens on the bottom and the fold is on the top. I cut a 4" x 5-1/4" piece of Basic White card stock and I textured it using the "Painted Texture" embossing folder. I glued the textured piece to the front of the card base.
The layers were fun. I LOVE lots of layers on cards. Balmy Blue was used for the layers. I will go through each piece and layer instead of all the layers and then the pieces. That makes them easier to pair up and put together.
The larger back piece of Balmy Blue was cut at 4-1/2" x 3" and the Designer Series Paper (DSP) from the "Dandy Designs" 12" x 12" package measures 4-3/8" x 2-7/8". I taped the two layers together.
The next piece is the smaller strip. The Balmy Blue piece was cut at 2-3/4" x 1-5/8" and the DSP on top from the same package was cut at 2-5/8" x 1-1/2". I taped those two pieces together.
And the focal piece was cut as follows. The Balmy Blue piece was cut at 2-1/4" x 3-1/4" and the Basic White piece was cut at 2-1/8" x 3-1/8". Before taping those two pieces together I took my Blending Brush and scrubbed on some Balmy Blue ink.
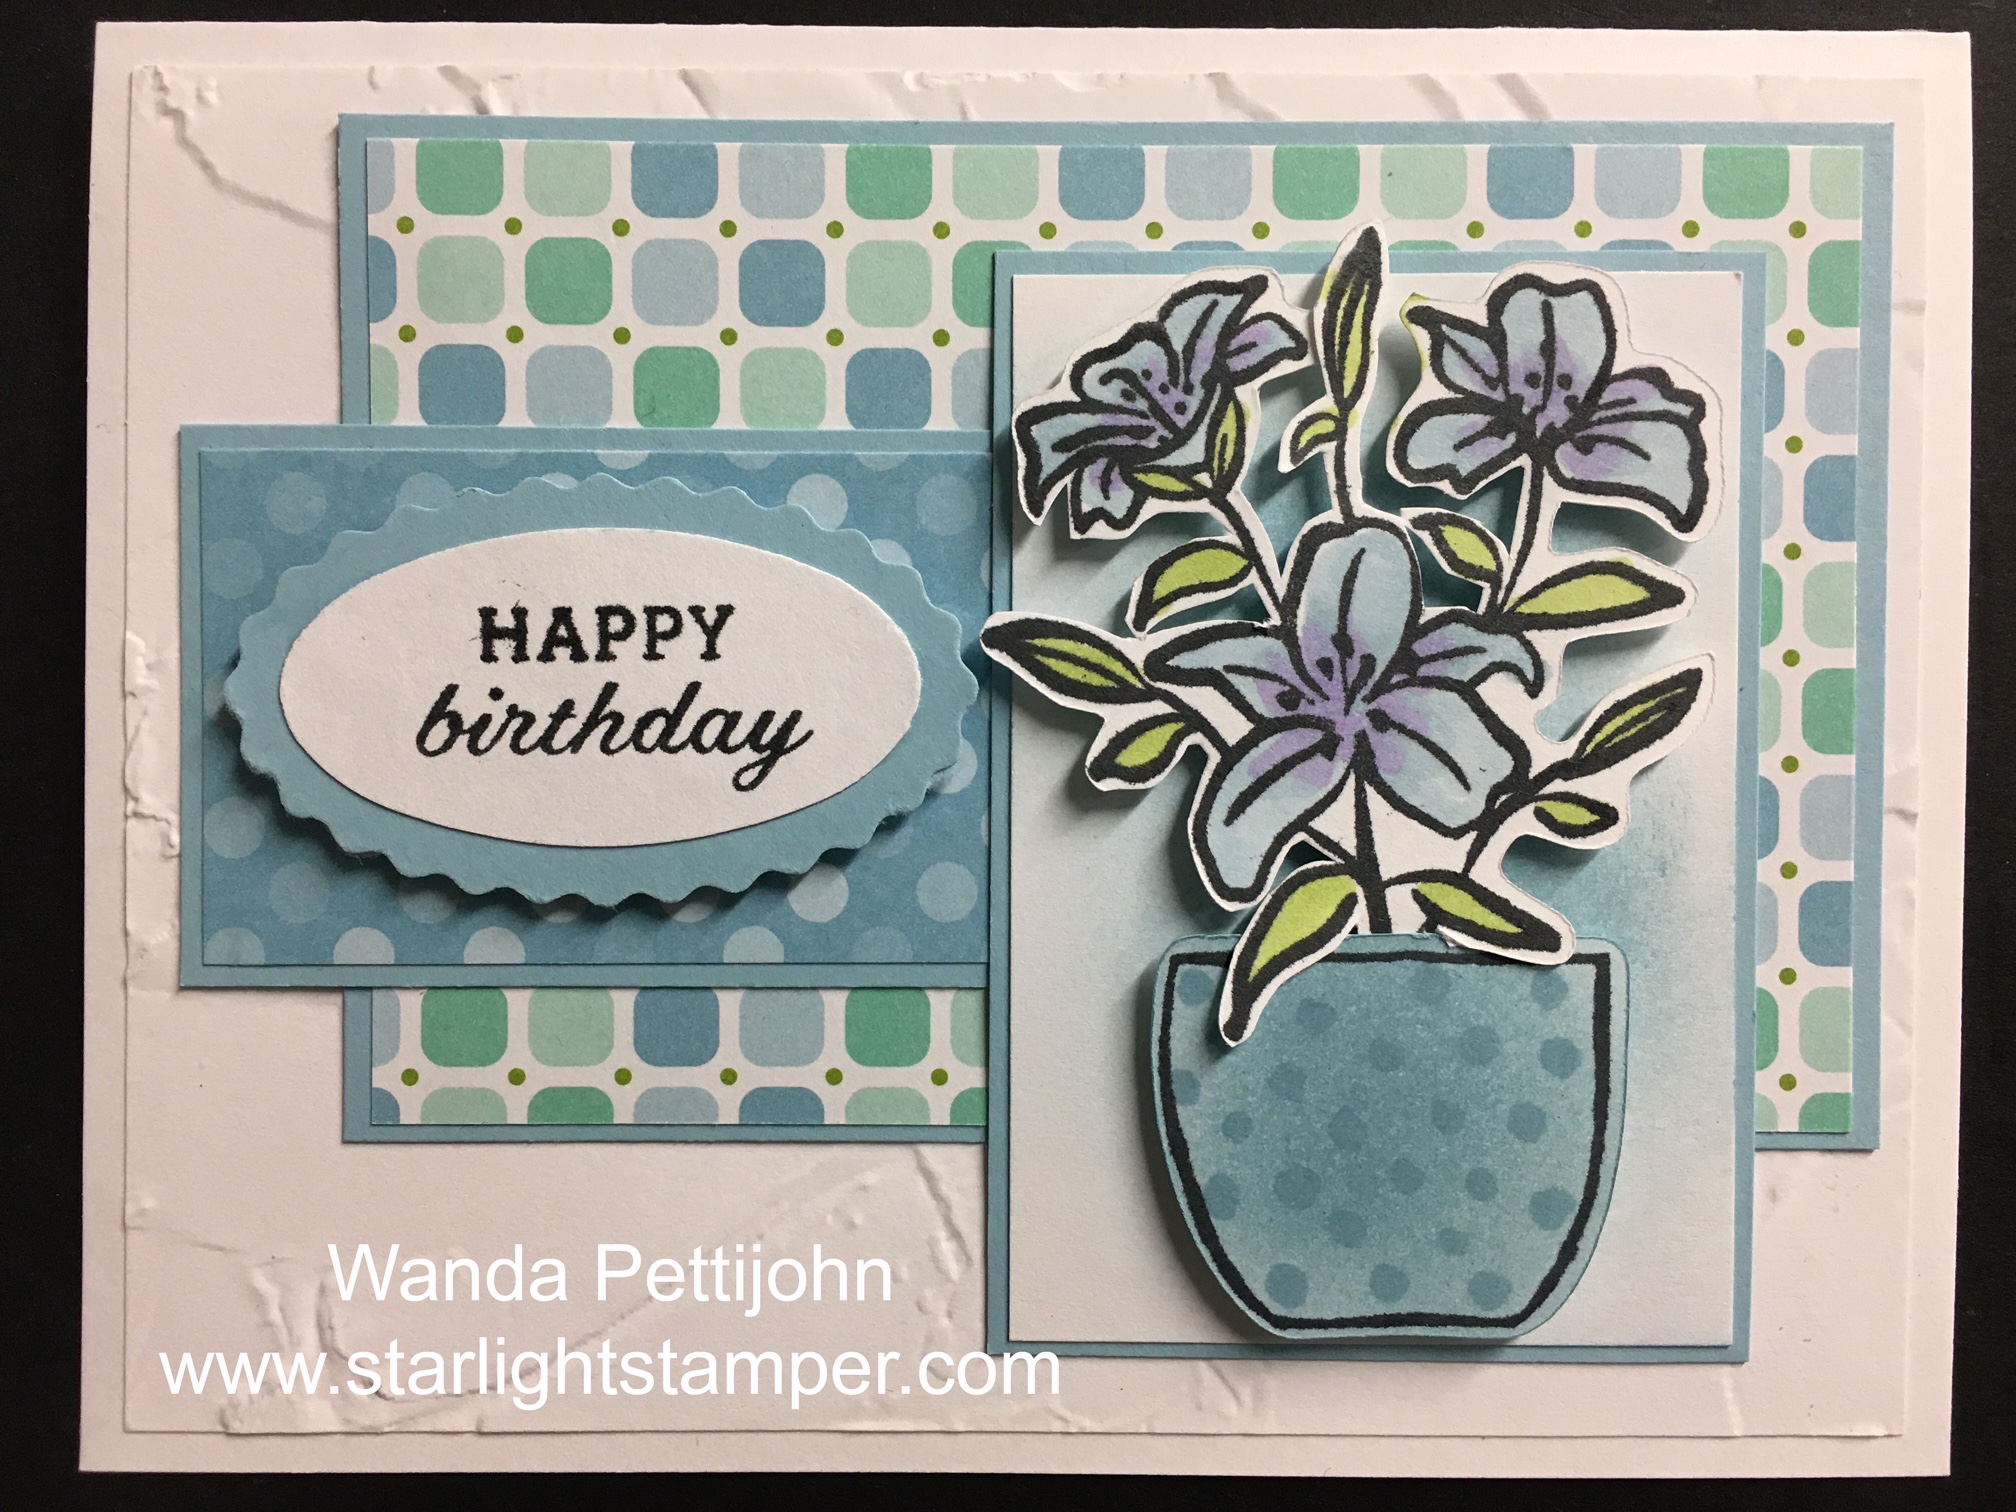
Now the fun starts. I stamped the flower and the planter and fussy cut them out. I colored the flowers using my Blends Pens. I used the light Balmy Blue for the flowers and I added a little light Highland Heather for the inside of the flowers. The leaves were colored in using light Granny Apple Green.
The planter was colored in using my Blending Brush and the ink that was left on it from the background focal piece. I took my dark Balmy Blue Blends pen and made dots all over the planter.
The bottom leaf of the flowers is hidden behind the planter and the next two leaves were snipped close to the stem so they could be slid over the edge of the planter. I glued the stem you don't see to the back of the planter. Dimensionals were added to the back.
The words are from the "Days to Remember" set. I stamped them on a scrap piece of Basic White card stock using black Memento ink. I punched them out using the "Dual Oval" punch and I punched out the scalloped layer using the same punch. I taped those two pieces together and Dimensionals were added to the back.
Let's put the card together.
I glued the large layer to the upper right corner about 1/8" from the top and right side of the embossed piece.
Then the smaller piece was set in place. The end of it is about 1/8"from the left side of the embossed piece and about 1-1/4" from the bottom of the embossed piece. Next the focal piece was set in place, it's about 1/4" from the top and 1/4" from the side of the larger DSP layer. The flower/planter piece was set in place using the Dimensionals. Cute so far, huh?
And lastly the words were set in place on top of the smaller piece using the Dimensionals. I did struggle with that piece. I wasn't sure where I wanted it. I had first thought putting it below in the more white area but the oval hid the DSP from the larger piece and it didn't quite look right. After moving it around I thought it looked best where it is. And the card was done.
This was a very fun card to make and I'm happy with the way it turned out. I LOVE all the layers!
Thank you SO very much for taking your time to stop in and see today's birthday card,
Wanda

2 comments:
I LOVE LOVE LOVE your layout for today.
This card just SCREAMS HAPPY to me.
Hoping to CASE this layout soon.
Thanks for sharing!!!!
I agree with KardsbyKadie. This is a really great layout and "blue" is my favorite color.
Post a Comment